Showing posts with label Custom Furniture Design. Show all posts

Thursday, February 21, 2019

In The Woodworker Shop - The Closet


Our workshop is full of wood in various stages of becoming something else. We have three projects going on simultaneously that involve shelving of some sort.

Projects work out better when you begin with a thoughtful plan that gives the client a vision of what the space will be like when completed.  While people agree with that when it comes to kitchens, bathrooms, offices they often just want to put shelves and rods randomly in the closet space. Resist the urge. Plan the closet space.

Closets are all about storage.  It helps if you know what you want to store in the closet before you start construction.  There are basically only two types: wall or reach-in closet, or a walk-in closet. Regardless which type you have in the room, think about what you want to store in it before you start any modifications. What you need to store will determine what you need to build. 

There are basic components that you will need to include:  Rods for long and/or short items,  open shelving of various heights, and some shoe space.  Think about whether or not you need drawers.  A wall closet is only 24" deep so that will be all wall but a walk-in closet could include drawers if you need them. If you have a lot of scarves than you may want a drawer, but scarves can also go on hangers with the blouse they accessorize or on open shelves or hooks.  Drawers are optional and need space for opening them.  Another issue with drawers is that they tend to be expensive compared to just shelves and rods.  Drawers need hardware - full extension glides and knobs/pulls. Our clients were right on top of their storage needs, so we just had to build, paint  and install.


The pictures on the right shows the various pieces necessary for this project. This job will be built on site. The shelves are done and the gray paint is being applied.  We spray paint our cabinets/shelves.  We have about 30 shelves with these units.


Installation day:

Wall Two
wall three


wall five
Wall four


  Lots of storage.                                                                   

Wednesday, November 20, 2013

Customized Wall Design

 
What to do with all that space around the fireplace?   There are a lot of options but it all depends on what you want to have there.  Some homeowners like the look of empty space with just a few objects such as pictures or a mirror, others, like the space filled in.  Our newest clients needed storage  in their new home for videos, cd's,  books  and some beautiful art pieces they wanted to display.  All that space around the fireplace in the living room where the TV sits offered just the right spot to fill their wishes.  This wall measures 163" with the fireplace positioned a little off centered.  We designed two bookcases that would surround the fireplace and created a mantle that would fit across the entire wall.  The mantle was the crux of the whole design and took the longest amount of time to put into place. 
 It had to fit correctly.  In order to make this happen, we first carried it into the living room and hoisted the mantle onto the wall units using the cabinet lift to place the mantle at the right level. Al then marked off  where all the cuts had to be made.  We then removed it and carried it outside for the cutting.  Then returned and placed it a second time.  As you can see by the markings on the picture on the left, there were several cuts to be made because the mantle needed to slid into the bookcases and lay flat against the fireplace.  The inserted strip of lighting only allowed you to cut so far into the wood of the mantel itself.
                      

By the end of the day we had the bookcases and mantle in place.  The crown molding will be placed on the bookcase units when we return next week to complete work in the kitchen area.  Below is a picture of the wall unit with deep full extension drawers across the bottom to align with the hearth, adjustable shelves that can be changed according to their needs with the exception of the mantle which runs the entire length of the wall.  There is  uplighting across the top of the units and inserted lighting on the underneath side of the mantle.


Friday, August 23, 2013

In The Woodworker Shop -- Closet MakeOver

Every now and then we get the chance to work on our own projects in between one's for our client's.  This week is one of those times.  And the task at hand is redesigning the closets. 

Closets drive me crazy. They accumulate clutter at an amazing rate and I hate clutter.  Every year I go through our closets and try throwing out things that we haven't worn or used within the last year.  Some things are exempt from my de-cluttering agenda though -  like Al's Navy uniform and the red fun fir that I bought with a Christmas bonus from my first real job. It's funny the attachment some things have on your heart.  Never throw out anything that you have a strong attachment to.  Let time handle it.  At some point the attachment won't be so strong.

Every closet design is different.  It all depends on the size of the closet and what you intend to store in the closet.  Sometimes you need more places for shirts/blouses or maybe you need more shelves for shoes.  Figuring out what you need is half the battle and must be done before you start tearing anything apart. The redesign of the bedroom closet has been done on paper for a few months now.  Last week Al was able to start work on the first closet and has finished his part in building the units for that one.  We have 3 other closets in the design process..

So, this morning I finished several cups of coffee and took one with me to the workshop for my part of this project: finishing work.  As you can see there are lots of parts to this little closet - the boxes, the frames, baseboard trim, shelves, face frames and the raised panel doors and drawer fronts.  I think as long as I can work at least 3 hours a day it should take me about 2 days for staining and then another one or two for the glazing process.  Let the fun begin.

Sunday, May 26, 2013

From the Woodworkers Shop - Lofty Ideas Installed


This is the installation of the bunk bed unit that I mentioned in a initial  post: From the Woodworkers Shop - Lofty Ideas.   It took roughly 5 hours to install and the clients are very happy with it. 

Below the unit is pictured with the daybed in place.

Friday, April 12, 2013

In the Woodworker's Shop - Lofty Ideas

When you need to increase your usable space and you have high or vaulted ceilings, the best way to go may very well be up.  That was the decision of our current clients when they realized they needed an additional sleeping area for the children, but adding on another room was not possible.  Our current project in the shop is a pair of bunk beds resting 6' off the floor above two armories.

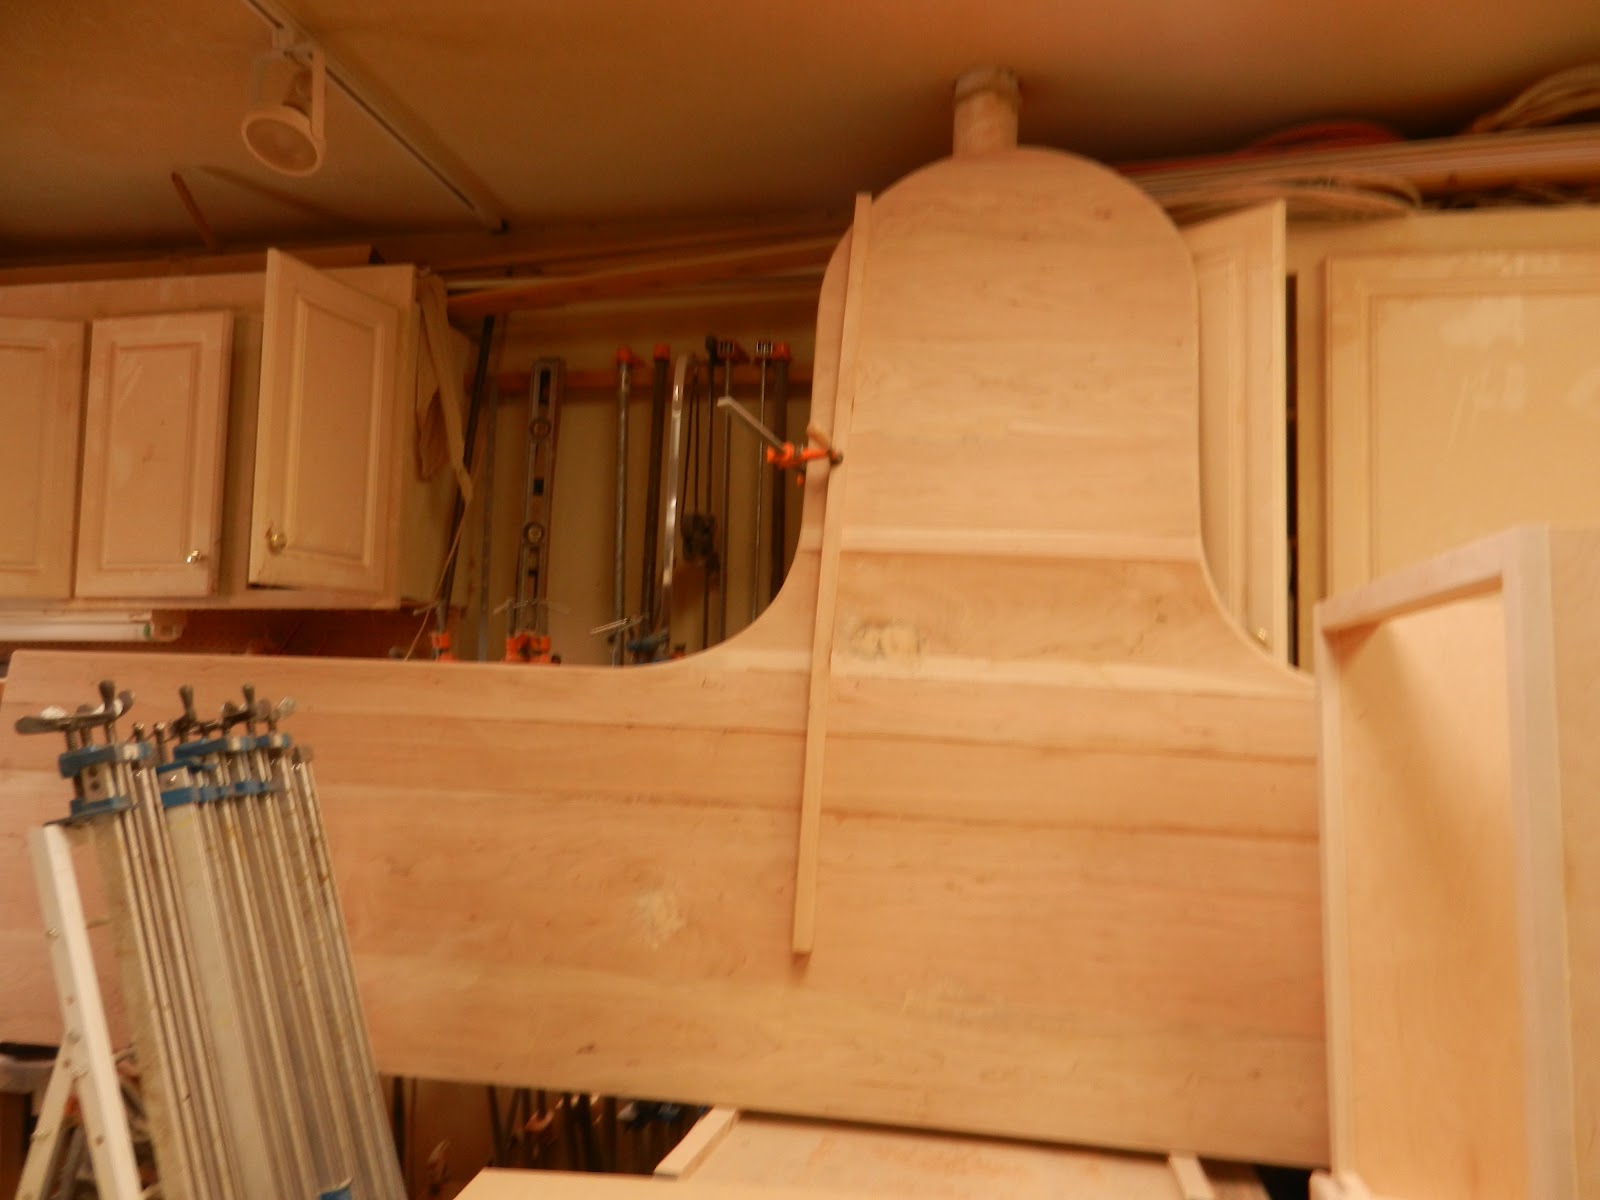
There are many parts to this project: two armories, two platform bunk bed, shared headboard with electrical outlets and an opening on both sides for books and accessories, two ladders and supporting pieces.  When it is installed I will post a picture but for now it's still a work in progress
The Armories
Two ladders


Shared headboard with electrical outlets


Fitting It All Together


Friday, March 8, 2013

The Two-Person Office - installed

I love the difference it makes in someone's life when you take an empty space and covert into a space useful in their life.  Below are pictures of our latest custom project.  Construction of this desk can be viewed on my post: In the Woodworker Shop - the 2 person office.


From This


To This
The top of the desk is cherry wood with a walnut stain.  The crown molding is also cherry with the walnut stain. Shelves and cabinets are maple wood with the walnut stain. 

Monday, February 18, 2013

In the Woodworker Shop- a 2 person home office.

Behind the scenes in the woodworking shop, a two person desk for a home office is on its way to completion.  This past weekend we took a sample door to the clients so they could verify the finish  before the furniture can be completed.   As I work with another client regarding her kitchen, the office is being constructed and the next project which is a loft will commence after this office is installed.  Before any of the construction begins though there are CAD drawings created and presented to the client so that we are all on the same page.  We use the drawings to talk over the design with the client.  Changes can be made up to the time of construction.  A big part of my job other than designing is to make sure it all flow smoothly. 


The Office in Raw Wood, before the stain:

This desk top is 167" and has a rounded desk area for additional counter space. 
The   pedestal will sit beneath the rounded area

Shelf space

pedestal for beneath the desk

Raise panel doors

Wednesday, January 26, 2011

The Artists' Cafe


 This child’s table is one of the most fun furniture pieces that I have ever designed. It measures 30”w x 24”d x 19”h and has a poured resin top coat that you normally find on tables in restaurants. So it has a clear, hard and protective finish suitable for eating as well as for play activities. Whether designing furniture or rooms such as kitchens and baths, safety always needs to be the first concern.


The concept behind this design is to encourage a young child to explore the world of her own mind, the world of her own abilities and to have fun doing it. The tabletop is purple with the primary colors of red, blue and yellow as different parts of the table. I resisted the urge to create an elaborate, vibrant scene on the table because so often too much detail just gets in the way of creating something new. Drawing is like writing in the sense that it is better to start with a blank page. Since it's a table for coloring and drawing I included a color wheel in the shape of a house in the center with a small room as an insert. The insert is removable so that as she grows up the contents can be replaced with things that she makes or with something that is more engaging for her age group. On the left side of the table is a roll of paper so she can start with that blank page.

The design world is a world where possibilities come to life. It’s a very rich world, not in terms of dollars and cents, but in terms of color and creativity and it all starts with a concept. This child’s art and craft’s table is a good example of the process a design takes before it becomes reality.


Sunday, September 12, 2010

Add Richness to Your Dining Experience.

Walnut is one of the finest woods in the world.  We are fortunate in this country to have a few varieties  of this wood species.  Its warm brown wood finishes luxuriously and it is easy for woodworkers to work with and it is a hardwood and very durable.  This is a wood that is so beautiful with just a simple topcoat that you rarely need to put an actual stain on it.

This table takes center stage in a house and is used routinely  for dinner as well as for poker nights.  It has a circular Lazy Susan in the center that can be used for passing dishes.   It is in a room that houses Arts and Crafts furniture so inlaids were used around the Lazy Susan area and small inlaid squares were placed on the trim around the table.  It is stunning.

The table is 66" in diameter and will easily sit up to 6 people.  On party occasions more people have been known to lounge by the table to enjoy the company of others.  Its rich texture is a draw in any room.

This table was designed for the room it is in.  If you are interested in having a custom table such as this built please give me a call(480-861-2711) or email me (claremarie@asyoulikeitdz.com) so we can talk about a design that fits your needs and your space. 


Monday, July 27, 2009

Zen Appeal

It's a lot of fun and very rewarding to help empty-nesters figure out what to do with their space, now that the kids are gone. This is an area where you really need to spend time knowing and understanding the person's needs. The goal is to create a new space that meets their new lifestyle. In this situation the process started with converting the kid's bedrooms into more usable spaces for the homeowners. One bedroom was converted into an home office and the other one was converted into a quiet space away from the nightly TV shows. It seems that invariably one spouse will love watching TV while the other one can barely stand it. Funny how that happens that way. The one element that both of these room conversions had in common was that they needed to be used for guest sleeping areas.
When designing multi-purpose rooms, it is a great idea to put a Murphy Bed in the space if possible. For this homeowners quiet space we converted a yellow, over-stuffed girls room into a Zen space with very little furniture and room for reading or meditation. I love doing original designs for spaces and then seeing the piece come together in the shop. This wall bed I designed has a wider base on the bottom than the top giving it a trapezoidal structure. The Chinese coin motifs ( that look white in this wall bed picture) I found on a wrought iron display at Stein Mart and then had them cut out to use on the bed. The chest of drawers is alder wood painted black and bamboo rods tht I purchased at Pier One are used horizontally and vertically to adorn the front.
To complete the room I added a dragonfly window curtain using a bamboo rod as the curtain rod. The dragonfly fabric was also used on the cushion of her reading chair. The walls are painted with a gold metallic paint from Ralph Lauren except for the wall covered with tufted pale yellow fabric. The crown molding was painted the same color as the wall to give the room more height. The room was so much fun to design and it conveys just the right environment that was needed for the space.